
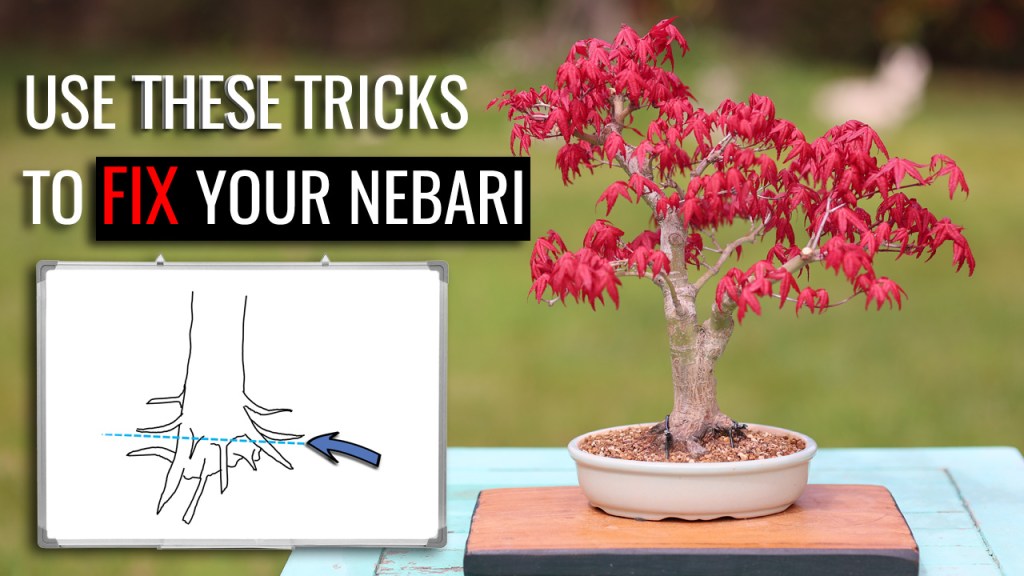
A bonsai can have beautiful branches, terrific taper and interesting movement… and yet still look incomplete or slightly wrong. Often the reason lies right at the base of the tree: the nebari – the surface roots of a bonsai.
In my latest video I go through five common nebari problems that show up again and again in bonsai, and some practical techniques to improve them over time.
You can watch the full tutorial on YouTube by clicking here:
Good nebari
The visible surface roots give a bonsai its sense of stability and age. When the nebari works well and the roots spread nicely from the base of the trunk, the tree appears stable and mature.
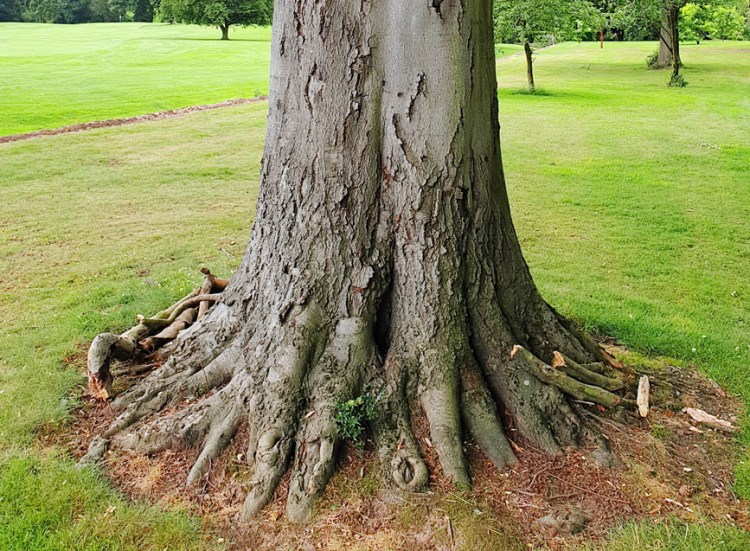
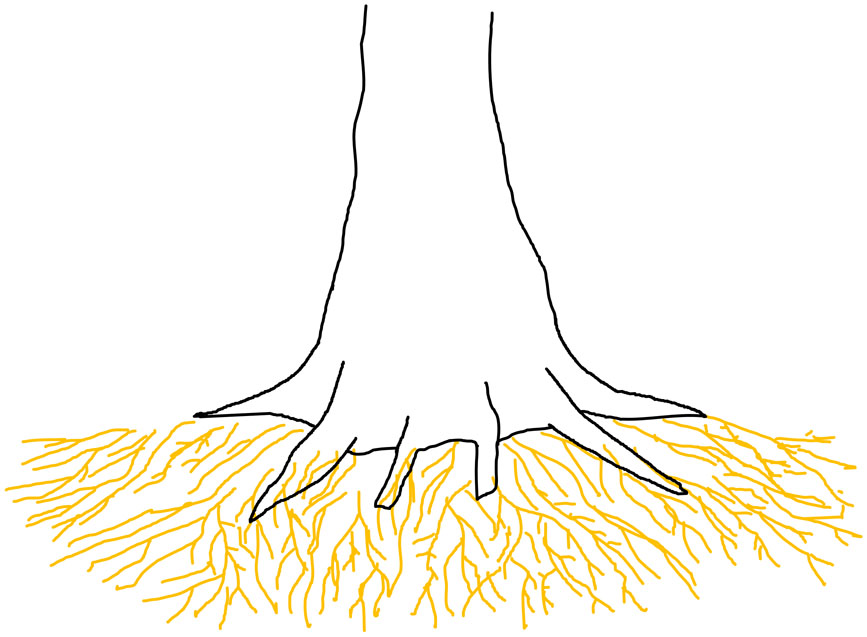
And, when they are in good proportion to the trunk and to each other, the tree appears well grounded and convincing. But when they aren’t, something feels slightly wrong, and sooner or later we have to do something about it. And believe me, sooner is usually better than later.
Five common nebari problems
Note that all the solutions discussed here are safest in late winter or early spring, while repotting. They are all easier to do on young plants or pre-bonsai, but, as shown in my video, they are also still possible on older bonsai trees.
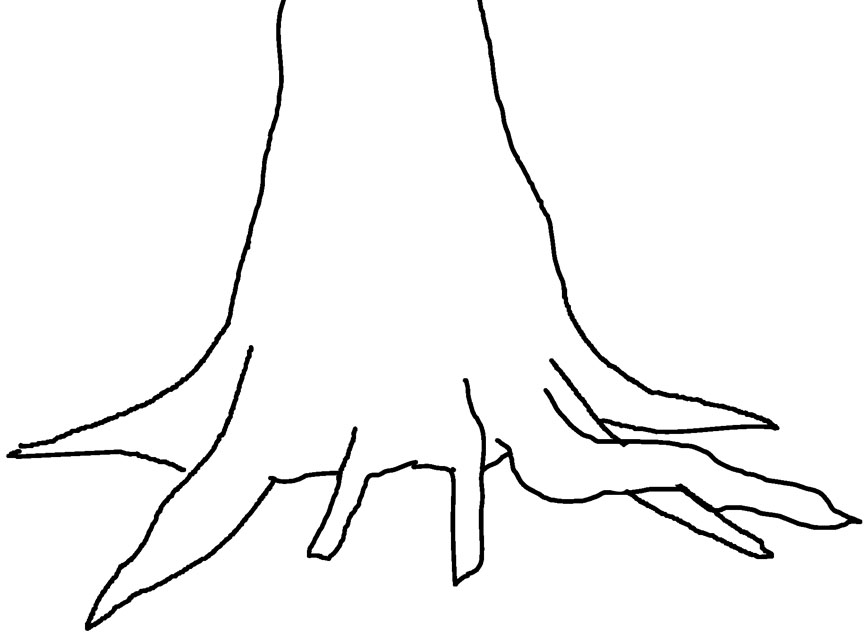
1. The dominant root
One of the most common problems is when one root becomes much thicker and stronger than all the others. Instead of a balanced radial root system, the tree looks as if it’s leaning on a single structural root
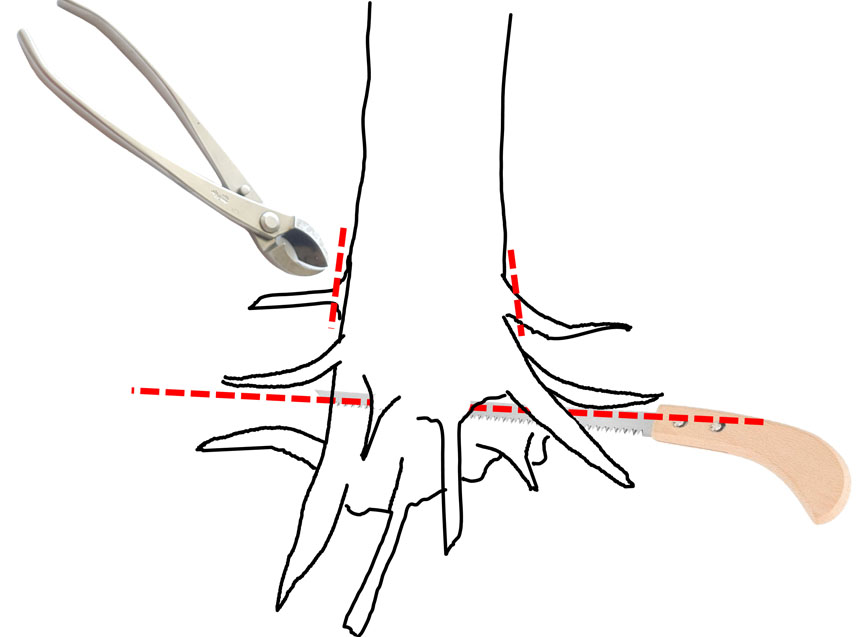
There are several possible tricks and techniques to fix this, depending on the situation.
Sometimes the best approach is to remove the dominant root completely, leaving the cut to callus over. In other cases it may be better to cut the root at an angle, which helps disguise the cut. If the root is very wide, another option is to split it lengthwise, turning one thick root into two thinner ones that can spread more naturally.
And when the rest of the trunk base remains bare and roots just don’t want to grow there, there are two techniques to help create a better radial root spread, that are safe but take some time. Root grafting requires that you’ve taken cuttings and rooted them from the tree (or the same species) a year earlier, and then takes a further year or two after grafting the cuttings. As a shortcut, drilling holes around the base of the trunk to encourage new roots can be quicker but does not guarantee roots out of every hole.
Essential tips: use rooting hormone and sphagnum moss to maximize the chances of rooting success. Then pile the bonsai soil above the level of your intervention, in order to keep it permanently dark and humid until your new roots have developed sufficiently. Check for roots after six months, and assuming they have emerged, carefully spread them in the soil so that they continue to grow radially away from the trunk.
2. Crossed roots
Another familiar issue is roots that cross over one another, breaking the smooth radial flow we’re trying to achieve.
If the tree is young and the roots are still flexible, the easiest solution is often to reposition the root during repotting. If that’s not possible, we could remove the crossing root but leave a short stub, allowing a new radial root to develop later from that point.
Sometimes though, the best decision is simply to leave it alone for now, especially if removing it would weaken the tree or leave an obvious gap in the nebari. Not all crossed roots look bad. And as always with bonsai, it’s a balance between improvement and patience.
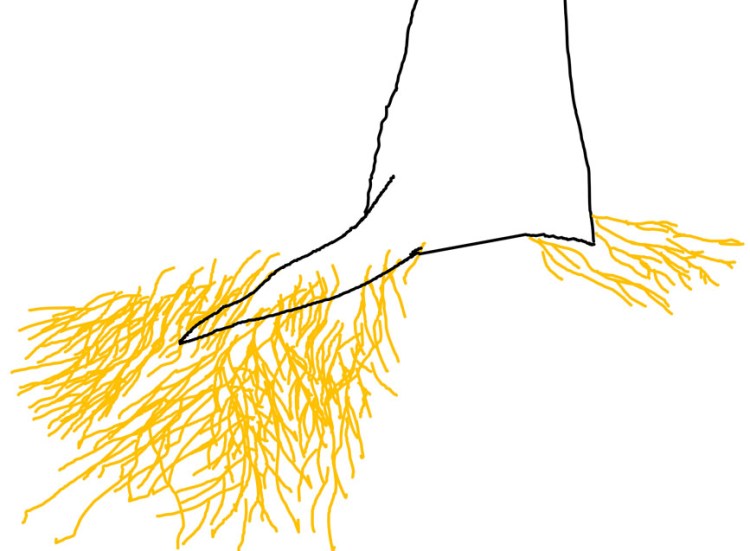
3. Roots at different heights
Sometimes the surface roots emerge from the trunk at several different heights, rather than forming a clean radial plane. This can make the base of the tree look messy or confused, and unstable.
One solution, especially for young trees and pre-bonsai, is to choose a good root plane and completely remove all the other roots that emerge too high or too low.
Another trick, especially for certain styles such as informal upright or slanting style, is to repot the tree at an angle so that the existing roots align better with the soil surface. In the right situation it can make a big visual difference. However, unfortunately this isn’t appropriate for formal upright or broom-style trees, so for those styles we’re back to drilling or root grafting. There are also the possibilities of ground layering and of tourniqueting, both of which we’ll get to shortly.
4. Wrap-around roots
Sometimes a root grows around the trunk instead of away from it. When this happens, it can even fuse back into the trunk and create an unsightly bulge around the trunk base.
If the root hasn’t fused with the trunk yet, the simplest solution is often just to remove it. But if the root has already thickened and created a bulge, there are a few more options. One is to raise the planting level, treating the bulge as if it is part of the trunk flare, and develop a radial root spread under the bulge.
Another possibility is to ground layer above the problem, creating an entirely new nebari, by ring-barking, applying rooting hormone and sphagnum moss and watering patiently for a few months before checking for new roots. I showed a ground layer in detail in this video: Do This to Level Up Your Trunk Base.
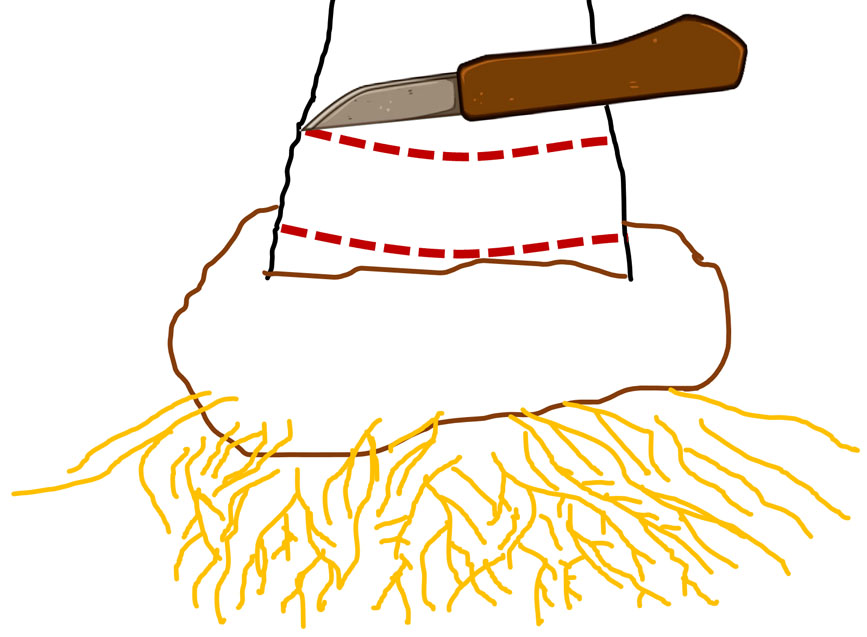
And if you don’t want to risk ring barking your bonsai, in some cases the tourniquet technique can be used to encourage new roots to develop above the bulge, so in the future you’ll be able to chop off that bulge.
5. No Surface Roots
Finally, sometimes a tree simply has no visible surface roots at all. This can happen when a tree has been grown too deeply in nursery containers, or when the original root system developed poorly.
The long-term solution is to encourage a completely new root system closer to the trunk base. You could try one of the techniques discussed above, like grafting roots, ground layering, tourniqueting, or drilling holes.
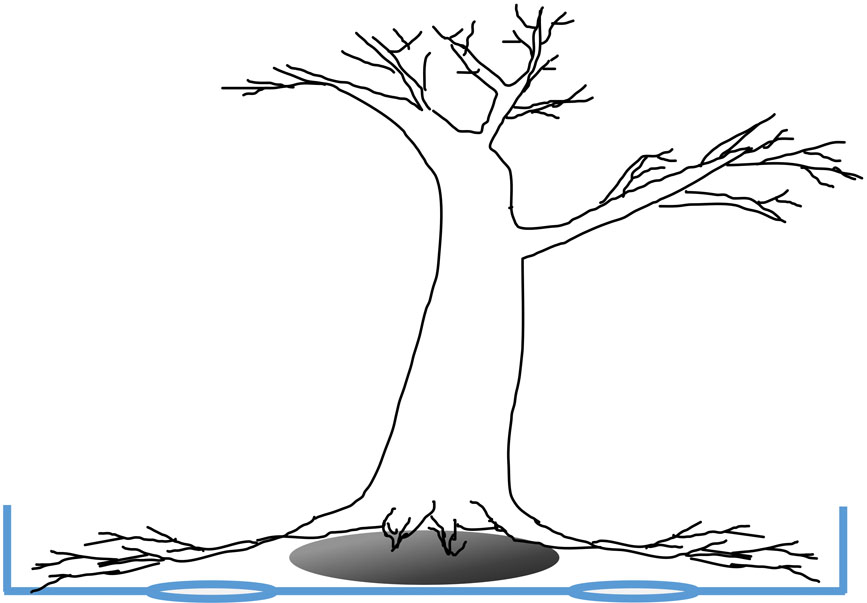
The most commonly used solution is to plant the tree on a very shallow container or even a ceramic tile. (You’ll first need to remove the tap root and other deep woody roots in order to sit it on a tile or shallow pot). This solution encourages all the roots to spread radially, since they can’t physically grow downwards.
However, even better than that, I recommend planting the tree on a rounded stone. (Again, you’ll need to first remove the tap root). This technique encourages the roots to spread radially from the trunk and then slope down gently into the soil, producing a natural flow from trunk to trunk flare, to nebari, to roots.
I showed the stone trick in detail in this video: Use This Trick for Great Nebari
Nebari is a marathon, not a sprint
Nebari improvement almost always happens slowly. Unlike pruning or wiring, which can quickly change the appearance of a bonsai, root development happens over multiple repotting cycles, sometimes over many years.
But the good news is that even small improvements to the nebari can make a tree look significantly more convincing.
You can watch the full tutorial on YouTube by clicking here: Use These Tricks to Fix Your Nebari.
Thanks for reading, and I hope you enjoy the video!
Dave

Dave, I am so glad to find you again. Your YouTube channel and book were a part of my hobby that I took up upon my retirement 5 or so years ago. The last two years have been hard on my trees. Living in upstate South Carolina Hurricane Helene caused havoc in my house and yard. I lost my drip irrigation to my trees. I finally have it fixed and am in the process of starting over. I was happily able to save several prizes.
Anyway, thanks for your efforts to share your love of Bonsa!
Tom
LikeLiked by 1 person
Hi Tom, thanks for your thoughts and for sharing your situation – really sorry to hear how the hurricane set back a lot of your progress. But glad to hear you’ve been able to save some of your best trees, that’s indeed good news. Best of luck for ongoing calmer weather, and happy growing!
All the best,
Dave
LikeLike